If you have a residential Internet connection through Comcast Xfinity, Spectrum, or most other major Internet service providers, you likely have a dynamic IP address that is subject to change at your ISP’s whim. Dynamic DNS (DDNS) tools are designed to automatically update your domain’s DNS records in case your external IP address changes.
Synology Disk Station Manager has a built-in DDNS tool that is relatively straightforward to use…however it doesn’t support updating Cloudflare.
However, using a custom script in task scheduler, you can overcome this issue.
Get Zone ID and API Key from Cloudflare
To get your Cloudflare Zone ID and API key, log in to the Cloudflare Dashboard for the domain you want to use. Your Zone ID will be displayed in the bottom right corner.
To get your API Key, click Get your API token just below your Zone ID. Click API Tokens on the gray menu bar at the top, and then look for Global API Key and click the View button. You’ll be asked to enter your password.
In the example below, my Zone ID is 12345 and my Global API Key is 67890; update these values with your credentials!
Next, you’ll need to get your record ID. Open a terminal window, and run the following command:
curl -s -X GET "https://api.cloudflare.com/client/v4/zones/12345/dns_records?name=subdomain.example.com" -H "X-Auth-Email: [email protected]" -H "X-Auth-Key: 67890" -H "Content-Type: application/json"
Cloudflare will return a string that begins with {"result":[{"id":"abcdefg12345", - the string in quotes after “id’: is your record ID.
You should now have the following:
- Zone ID:
12345 - API Key:
67890 - Record ID:
abcdefg12345
Create a script in Task Scheduler
Open Task Scheduler on your Synology NAS (Control Panel > Task Scheduler) and create a new task (Create > Scheduled Task > User Defined Script).
Give your task a name, ensure that the root user is selected, and set up a schedule (I use every 30 minutes). Click the task settings tab, and paste the following:
#!/bin/sh
curl -s -X PUT "https://api.cloudflare.com/client/v4/zones/12345/dns_records/abcdefg12345" -H "X-Auth-Email:[email protected]" -H "X-Auth-Key:67890" -H "Content-Type: application/json" --data "{\"id\":\"12345\",\"type\":\"A\",\"name\":\"subdomain.example.com\",\"content\":\"`curl https://ifconfig.co`\"}"
This script will automatically find your external IP address (curl https://ifconfig.co) and update Cloudflare.
Bonus: Use Healthchecks to monitor
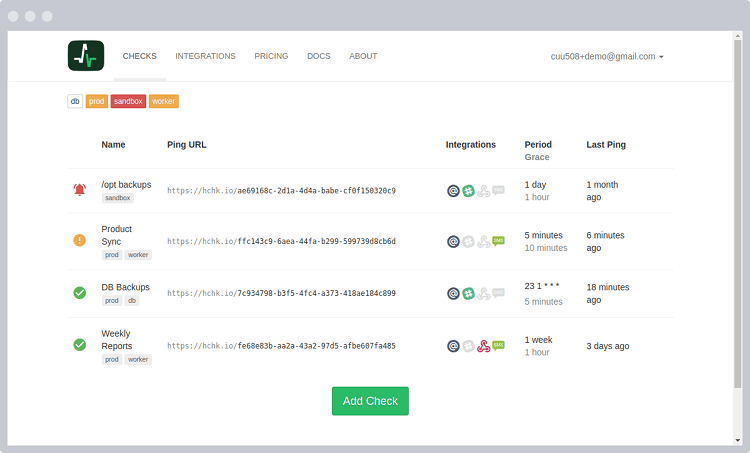
This is why I prefer setting up my own script in Task Scheduler over Synology’s built-in DDNS client. Healthchecks.io is a fantastic free service that is useful for making sure that scheduled scripts/tasks are actually executing. If the task executes, Healthchecks updates their monitoring dashboard with a timestamp. If it doesn’t execute, you can set up a notification to alert you.

- Sign up for the service, and create a new check.
- Copy the “How to Ping” URL provided.
- Add
&& curl -fsS --retry 3 https://hc-ping.com/your-how-to-ping-urlto the end of the above script.
The final script should look something like this:
#!/bin/sh
curl -s -X PUT "https://api.cloudflare.com/client/v4/zones/12345/dns_records/abcdefg12345" -H "X-Auth-Email:[email protected]" -H "X-Auth-Key:67890" -H "Content-Type: application/json" --data "{\"id\":\"12345\",\"type\":\"A\",\"name\":\"subdomain.example.com\",\"content\":\"`curl https://ifconfig.co`\"}" && curl -fsS --retry 3 https://hc-ping.com/your-how-to-ping-url